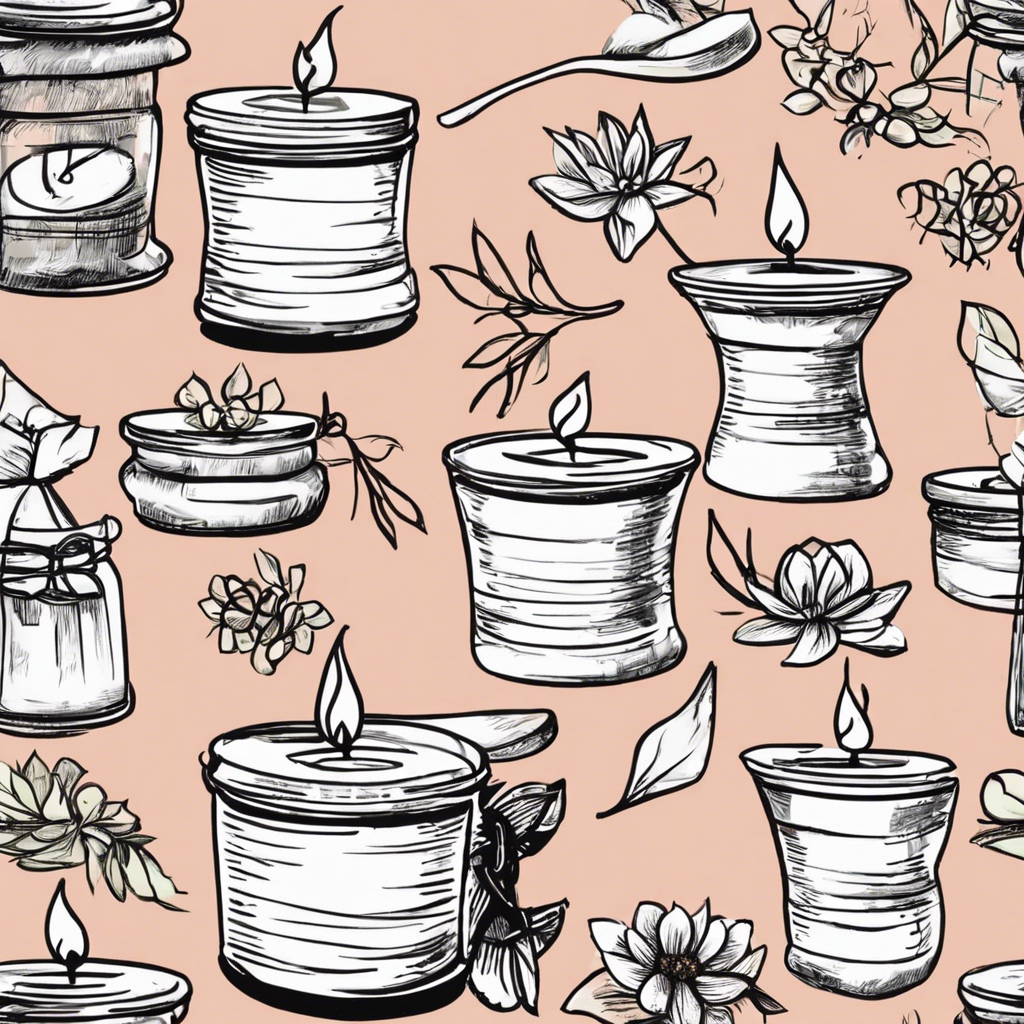
Candle making is a fun and creative hobby that can also be a great way to save money and create personalized gifts for your loved ones. While it may seem intimidating at first, the process is relatively simple and only requires a few basic supplies. So, if you’re ready to get started, here’s a step-by-step guide to making your own candles at home.
First, gather your materials. You will need wax, a candle warmer or double boiler, fragrance oil or essential oils (optional), dye or pigment (optional), wicks, wick holders, moulds or containers, and a thermometer. Once you have your supplies, you can begin by melting your wax. Use a candle warmer or double boiler to slowly heat the wax until it reaches a liquid state. This should be done at a low temperature to prevent the wax from burning. If you’re using a double boiler, ensure that the water in the lower pot is not boiling rapidly, as this can cause uneven melting and potential safety hazards.
The next step is to add your desired fragrance and color, if you’re using them. Fragrance oils or essential oils can be added to the melted wax for a pleasant scent. Start with a small amount, around 0.5 ounces per pound of wax, and adjust from there, as too much fragrance oil may cause your candle to smoke. Stir the oil in slowly and thoroughly to ensure it is evenly distributed. For color, add a small amount of dye or pigment to the wax, stirring continuously until you achieve your desired shade.
Now it’s time to prepare your wicks. Cut the wicks to the appropriate length, leaving about an extra inch at the top. Secure the wicks in place using wick holders, ensuring they are centered and upright. You can use moulds or containers of your choice, such as jars or tins, ensuring they are clean and dry. Pour the melted wax carefully into your prepared moulds or containers, leaving a small gap at the top.
The final step is to let your candles cool and harden. This process can take several hours or even overnight. Once they are solid, you can trim the wicks to about ¼ inch, and your candles are ready to burn or gift!
