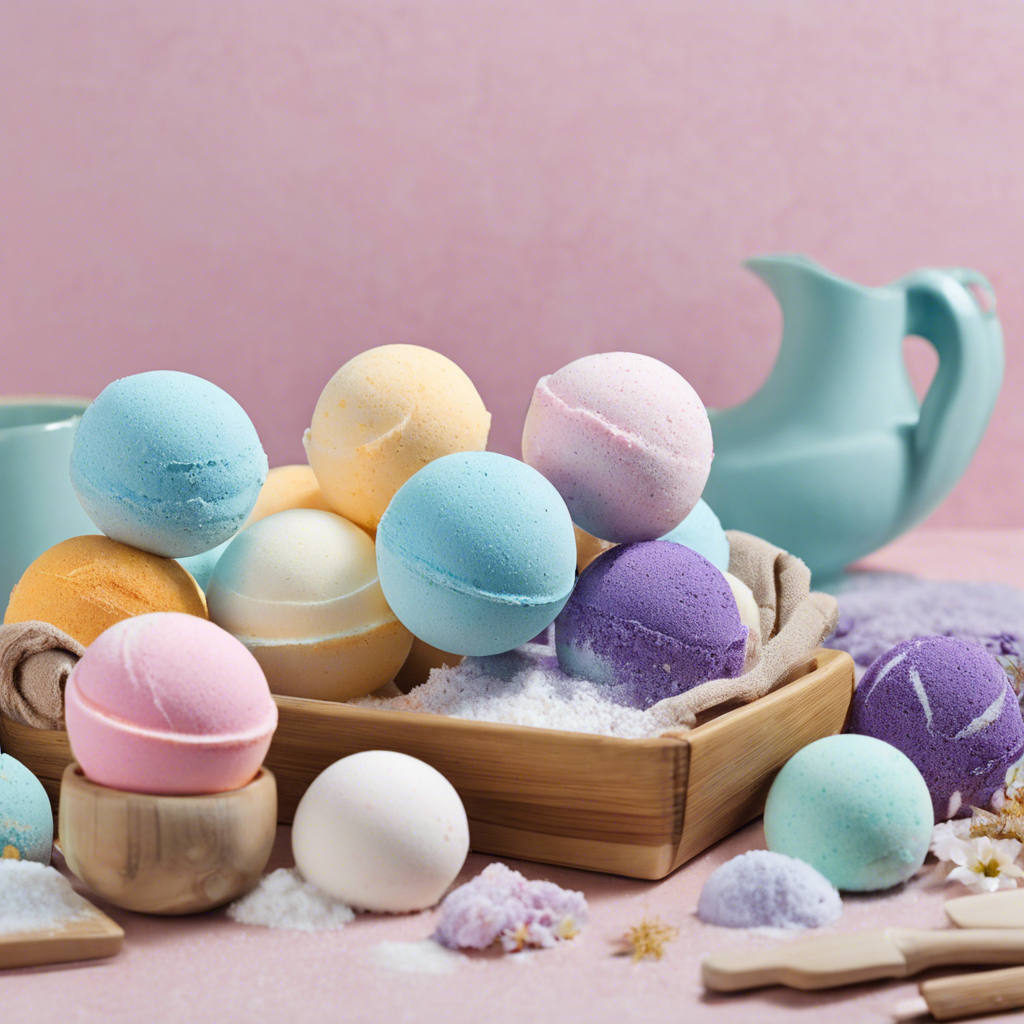
Creating your own bath bombs is a fun and simple way to elevate your bath routine and indulge in some much-needed self-care. With just a few basic ingredients and a little creativity, you can craft customized bath bombs that are not only fun to use but also make great gifts for loved ones. So, let’s dive into this step-by-step guide and explore the world of DIY bath bombs!
First things first, gather your ingredients: baking soda, citric acid, cornstarch, Epsom salt, food coloring or soap dye, essential oils, and a mold of your choice. You’ll also need a bowl, a whisk, and a spray bottle filled with water. Start by mixing dry ingredients, then slowly add in the wet ingredients, being careful not to activate the fizzing reaction too early. Mix in your choice of essential oils and a few drops of food coloring to create a pleasing hue. The amount of water you use is crucial – too much and your mixture will fizz prematurely; too little and your bath bombs won’t hold their shape. Spray sparingly and mix until the consistency resembles slightly damp sand.
Now it’s time to mold your creation. Fill each half of your mold with the mixture, pressing it in firmly. Let the mold overflow a bit to ensure the two halves will stick together nicely. Once filled, close the mold and give it a gentle twist to eliminate any excess mixture. Let the bath bombs set in the mold for at least 24 hours. Carefully remove them from the mold and admire your handiwork! Your bath bombs are now ready for use or gifting.
Personalize your bath bombs by experimenting with different colors, scents, and molds. Try adding dried flowers or glitter for a whimsical touch. You can even layer different colors to create a stunning visual effect. Just remember to work quickly and efficiently to avoid premature fizzing. With these simple steps, you can become a bath bomb artisan, crafting luxurious treats for yourself and your loved ones. So, what are you waiting for? It’s time to transform your bath into a spa-like experience!
Bath bombs are a fantastic way to unwind and relax, and making them yourself adds a special touch. This guide will ensure your DIY bath bombs are a success, and with endless customization options, you can create a unique and soothing experience. So, roll up your sleeves, gather your ingredients, and get ready to fizz your way to relaxation! Don’t be afraid to experiment and get creative – the possibilities are endless! You can even involve your kids or friends and make it a fun group activity.
One of the best parts about making your own bath bombs is the ability to customize them to your heart’s desire. Want a relaxing, soothing experience? Opt for lavender or chamomile essential oils. Feeling congested? Peppermint or eucalyptus oils will open up your sinuses. You can even create fun, seasonal bath bombs with festive colors and scents. Imagine a cozy autumn bath with warm spices or a refreshing spring soak with crisp, citrus fragrances. The options are endless, and you can tailor each bath bomb to your mood and preferences.
Presenting your homemade bath bombs artfully is part of the fun. Wrap them individually in clear cellophane or place them in a decorative box or basket. Tie a ribbon around each bomb, add a cute tag with a fun name and ingredients, and they become instant gifts. Create a themed set with different colors, shapes, and fragrances for a unique and personalized present. Your friends and family will surely appreciate the effort and thoughtfulness that goes into these handcrafted treats.
When crafting bath bombs, safety is paramount. While the ingredients are generally safe, it’s important to take precautions. Always wear gloves and a mask when mixing the ingredients to avoid skin irritation or inhalation of dust. Keep the work area well-ventilated and be cautious when using essential oils, as some can be irritating to the skin or eyes. Never leave your bath bombs unattended while setting, especially if young children or pets are around, as the ingredients can be harmful if ingested. With these safety measures in mind, you can confidently create beautiful bath bombs.
In conclusion, creating DIY bath bombs is an enjoyable and accessible project that anyone can try. With this step-by-step guide, you can easily craft your own relaxing and personalized bath experience or create unique gifts for loved ones. So, gather your ingredients, get creative with colors and scents, and enjoy the soothing fizz of your homemade bath bombs. Remember to take precautions for a safe and enjoyable crafting experience. Happy bathing!
