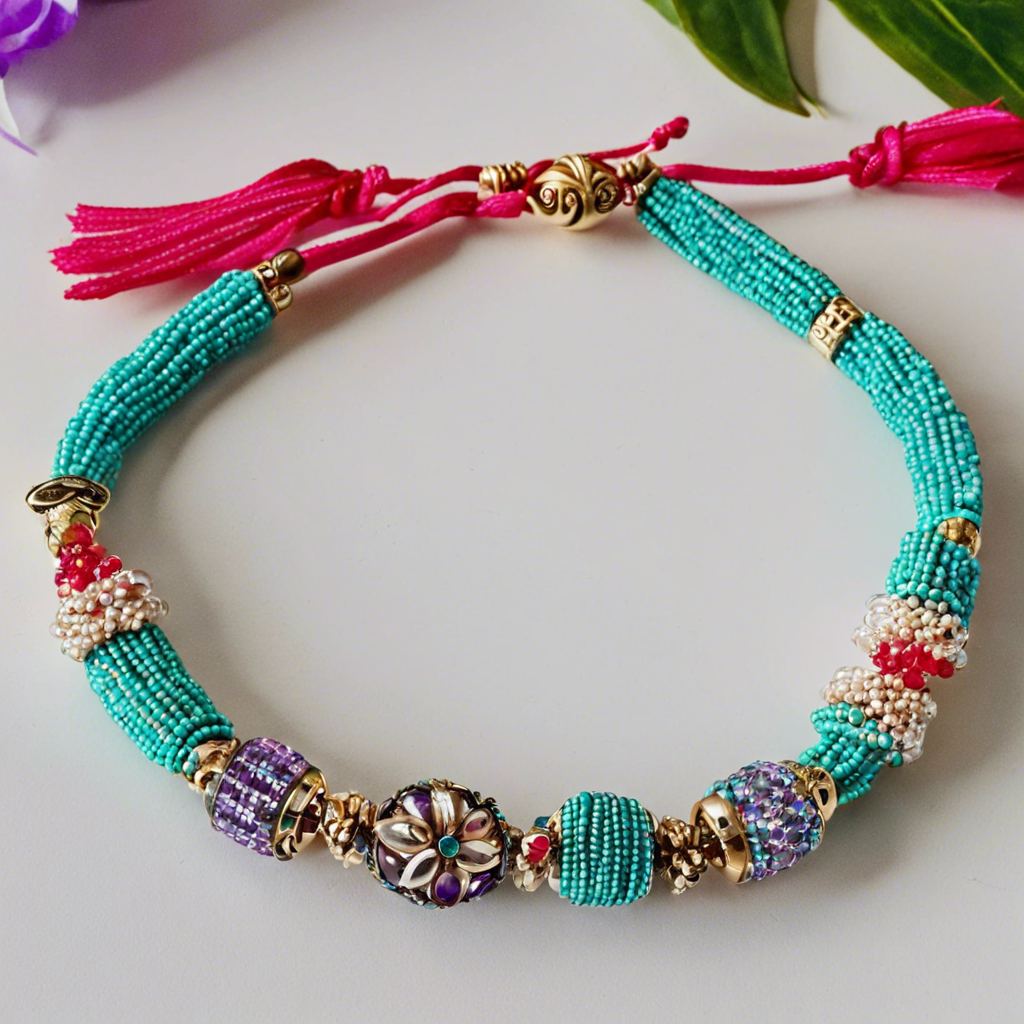
The beaded bracelet is a timeless accessory that has been worn by people of all ages and genders for centuries. Whether you’re looking for a fun DIY project or want to add a personalized touch to your wardrobe, creating your own beaded bracelet is a great way to express your creativity and individual style. In this step-by-step guide, we’ll take you through the process of designing and crafting your very own beaded bracelet from the comfort of your home.
First, gather your materials. For this project, you will need a variety of beads of your choice, string or elastic cord, a clasp or tie closure, and optional charms or pendants. Beads come in a vast array of colors, shapes, sizes, and materials, so you can really let your imagination run wild. Consider the type of bracelet you want to make – will it be a single strand or multiple strands? Do you want a uniform design or a more eclectic mix of beads? Taking the time to select your beads and plan your design will ensure you are happy with the final product.
Once you have your beads, cut a length of string or cord that is comfortable for you to work with. As a rule of thumb, it’s better to cut a longer piece than you think you’ll need, as you can always trim the excess later. If you’re using a clasp, attach it to one end of the string before you begin stringing your beads. Start adding beads to your string, taking care to keep them arranged in the order you want. If you’re creating a pattern, it can be helpful to lay out your beads in advance, but feel free to get creative and adjust as you go.
Halfway through beading, pause and try on your creation to ensure the length is correct and the bracelet sits comfortably on your wrist. There is nothing worse than completing your bracelet only to find you cannot fit it over your hand! After you’ve confirmed the sizing, continue beading until you reach the desired length. If you’re using a tie closure, leave enough room at the ends to tie a secure knot. Finally, secure the second end of the bracelet by either adding another clasp or knotting the ends together. If you’re feeling extra creative, you can add a charm or pendant to your bracelet for a unique touch.
With your bracelet complete, you can now admire your handiwork and show off your one-of-a-kind accessory to the world. Feel free to experiment with different bead combinations and designs – the possibilities are endless! Making beaded bracelets is a fun and relaxing hobby that can also yield beautiful and personalized gifts for your loved ones.
Creating handmade jewelry allows you to express your individuality and develop a deeper appreciation for the craftsmanship that goes into each unique piece. Not only will you have a stylish new accessory to wear, but you’ll also have the satisfaction of knowing that you created it yourself. So why wait? Gather your beads and get ready to dive into the world of DIY beaded bracelets! The only limit is your imagination. Now go forth and bead with confidence, knowing you have all the tools you need to succeed. Happy crafting!
