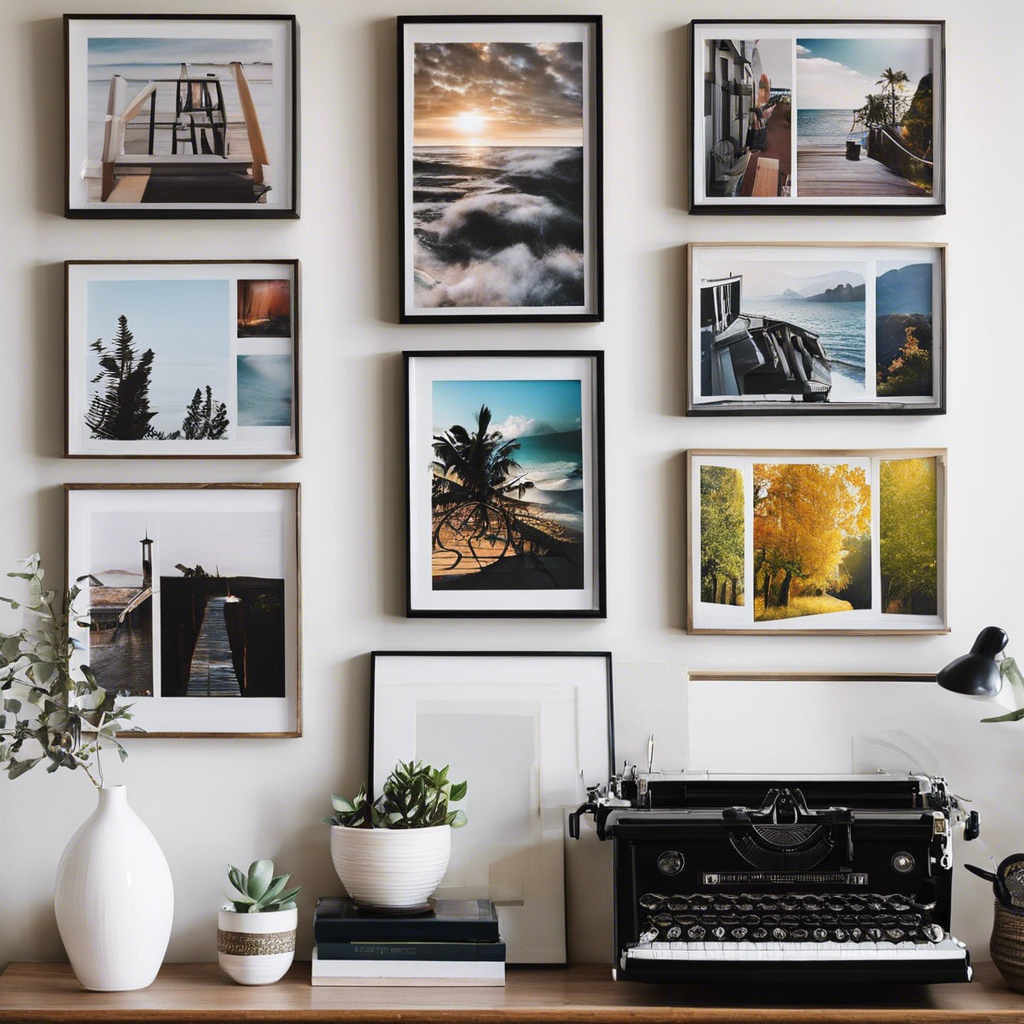
Creating a DIY photo wall is a fun and creative way to showcase your favorite memories and add a personal touch to your space. It’s a popular trend that can turn a boring wall into a stunning visual display. If you’re looking for a unique way to decorate your home or office, here’s a step-by-step guide to help you achieve a beautiful and meaningful photo wall.
First, choose a theme for your photo wall. This could be a specific color scheme, such as black and white photos for a classic look, or a particular theme that reflects your interests, like travel, nature, or family portraits. Having a theme will help create a cohesive and stylish display. Once you’ve decided on a theme, it’s time to select your photos. Go through your digital albums and choose the images that best represent the theme and evoke happy memories. Consider the composition and variety of shots to keep your photo wall interesting and visually appealing.
The next step is to decide on the layout. You can arrange your photos in a variety of ways, such as a grid, a heart shape, or a scattered collage. Play around with different configurations until you find one that balances the photos and fits the space well. Keep in mind that odd numbers tend to create more visually appealing arrangements. When it comes to printing your photos, you have several options. You can print them yourself using high-quality photo paper, or use an online printing service, which often offers different sizes, paper types, and even framing options.
Now it’s time to start putting your photo wall together. Measure and mark the space on the wall lightly with a pencil, creating guidelines to ensure your photos are level and spaced evenly. It’s helpful to use a level and a measuring tape to get accurate placements. Hang your photos using the appropriate hardware, such as nails, screws, or adhesive hooks, depending on the weight of the frames. If you’re using lightweight frames or directly sticking prints to the wall, command strips are a great option as they don’t damage the wall.
Selecting the right frames is essential to enhancing the look of your photo wall. Opt for simple frames in complementary colors and styles to your theme and décor. Mix and match different frame sizes and orientations to create a dynamic display. Alternatively, for a more modern and casual look, you can skip the frames altogether and mount your photos directly on the wall for a sleek, gallery-style appearance.
Adding décor and accessories to your photo wall can further accentuate its appeal. Consider hanging string lights or fairy lights to outline the arrangement or drape them gently across the photos for a cozy and enchanting effect. Another idea is to incorporate complementary artwork or decorative items, such as a mirror or a shelf with meaningful trinkets, to add depth and dimension to your display.
Creating a DIY photo wall is an enjoyable and rewarding project that will leave you with a unique and personalized feature in your home or office. It’s a wonderful way to surround yourself with cherished memories and showcase your creativity. Whether you’re displaying family portraits, travel adventures, or artistic photographs, the steps outlined in this guide will help you achieve a stunning and impressive photo wall.
Don’t be afraid to get creative and experiment with different layouts and arrangements until you find the one that speaks to you. The beauty of a DIY photo wall is that it can always be updated and changed, so have fun with the process and enjoy the transformation of your space. Happy crafting and may your walls be filled with love and laughter!
