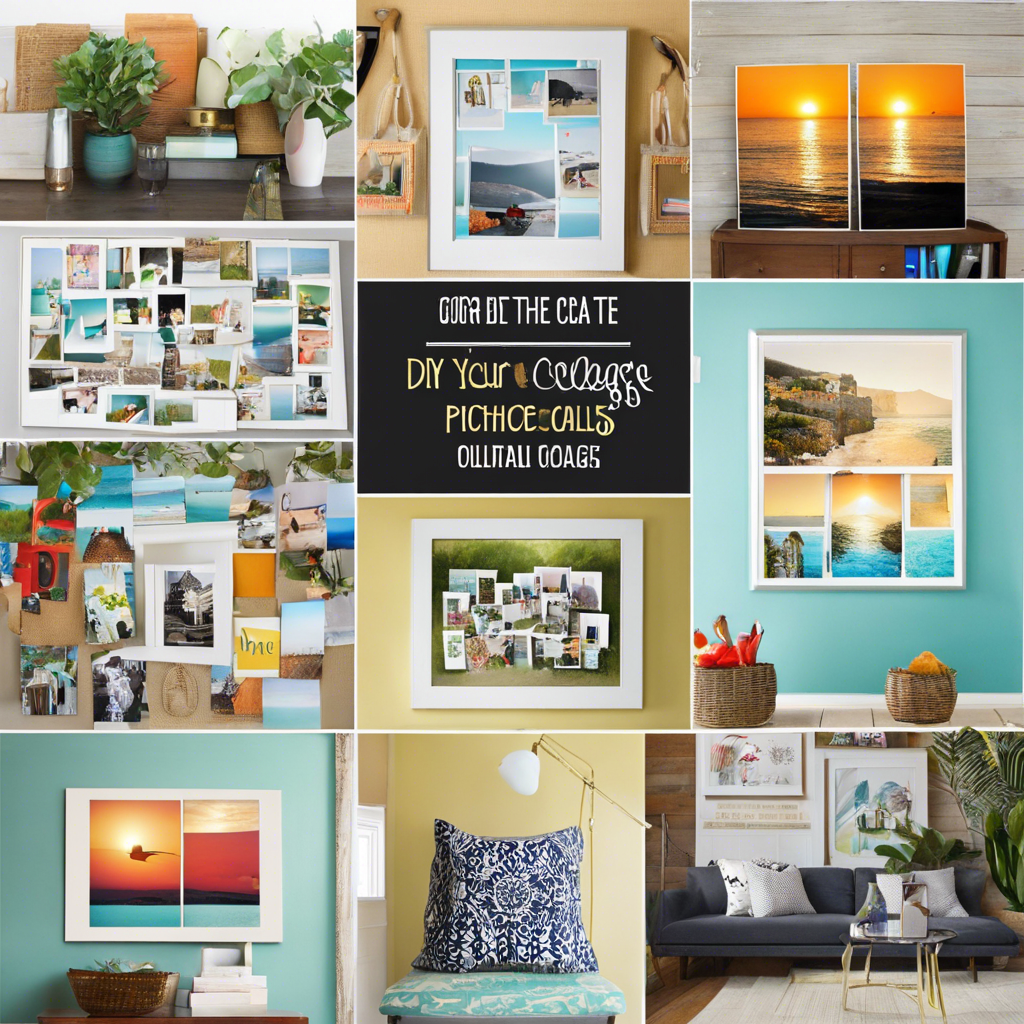
Creating a DIY picture collage is a fun and creative way to display your cherished memories and personalize your space. It’s an easy and affordable project that anyone can do, and the results can be truly stunning. So, if you’re looking for a unique way to showcase your favorite photos, here’s a step-by-step guide to help you create a beautiful DIY picture collage.
First, select a theme or color scheme for your collage. This could be based on the type of photos you want to use, a specific color palette you love, or even a particular event or trip you want to commemorate. Having a theme will help bring cohesion to your collage and make it look more polished. Once you’ve selected your theme, gather your photos and sort them accordingly. You may want to edit your photos first, such as by applying filters or cropping them to focus on the key subjects, to ensure they look their best.
Next, decide on the layout of your collage. Play around with different arrangements and sizes of photos to create a visually appealing composition. You can go for a symmetrical grid layout or a more organic, free-form style, depending on your preference. Consider using varying sizes and shapes of photos to add interest and depth to your collage. Once you’ve decided on the layout, it’s time to gather your materials.
Besides your selected photos, you’ll need a few basic supplies such as a pair of scissors, glue or double-sided tape, and a background for your collage. The background could be a piece of cardboard, foam core, or even a wooden board, depending on the desired finish and how long you want it to last. If you’re planning to hang your collage, don’t forget to grab some string or twine as well.
Now, it’s time to start assembling your collage. Start by laying out your photos on the background according to your chosen layout. Once you’re happy with the arrangement, carefully glue or tape each photo in place. Take your time with this step to ensure that your photos are securely attached and that your collage looks neat and precise.
To add extra flair to your collage, consider embellishing it with decorative elements such as washi tape, stickers, or even small mementos related to your theme. You can also try experimenting with different backgrounds, such as patterned paper or fabric, to add a unique twist to your design. Framing your collage can give it a more finished and elegant look, and it’s a great way to protect your creation too.
Once your collage is complete, step back and admire your handiwork. You’ve successfully created a personalized and meaningful piece of art that’s sure to brighten up any space. Whether you hang it on your wall, lean it on a shelf, or gift it to a loved one, your DIY picture collage is a unique and special creation that celebrates your cherished memories in style. So, go ahead and start snapping photos and crafting collages to your heart’s content!
