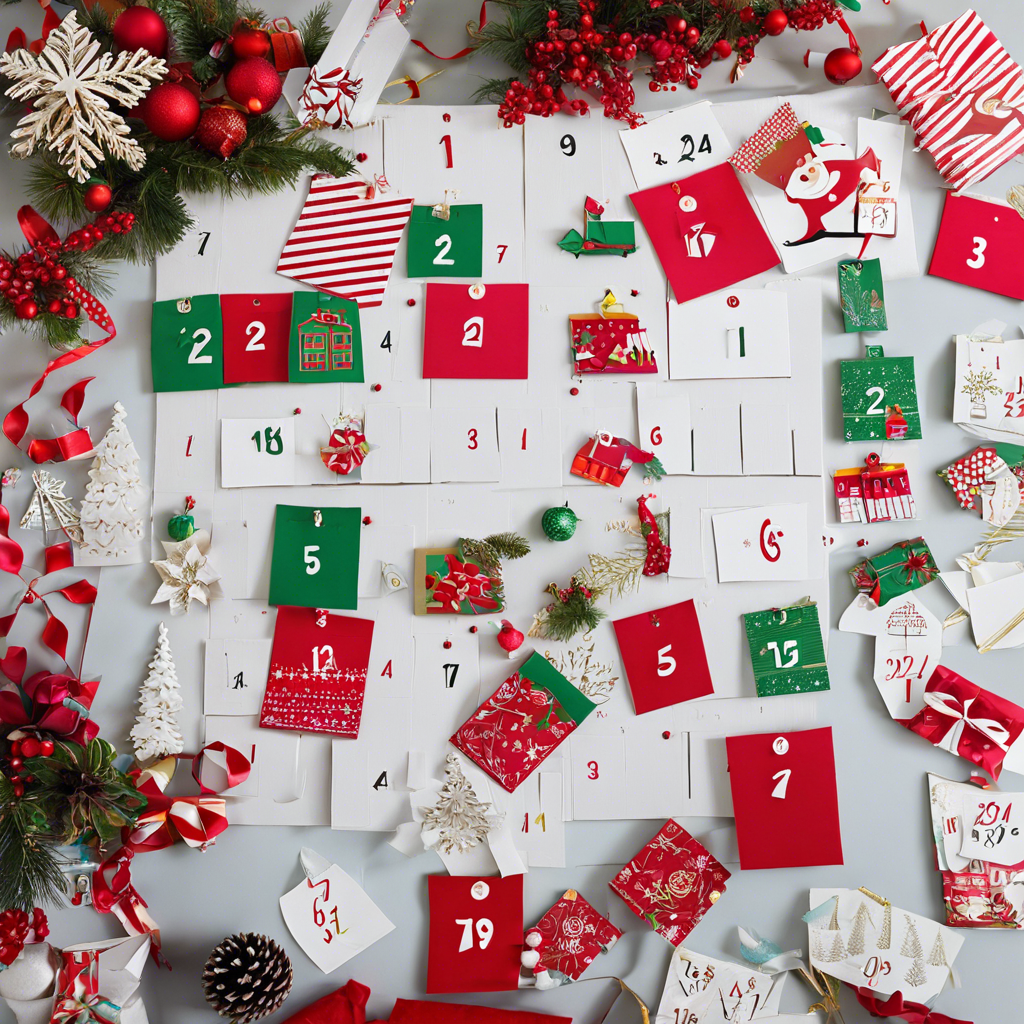
The holiday season is upon us, and what better way to count down to Christmas than with a DIY Advent calendar? Creating your own Advent calendar can be a fun and rewarding project that adds a personal touch to your holiday celebrations. It’s a wonderful way to build excitement and create lasting memories with your family and friends. So, if you’re feeling crafty and eager to get into the holiday spirit, here’s a step-by-step guide to making a DIY Advent calendar that’s sure to impress!
Decide on a Theme and Style
Before you begin, consider the overall theme and style of your Advent calendar. Do you want a traditional calendar with religious symbolism, or are you leaning towards a more modern and minimalist design? Perhaps you want to incorporate a specific color scheme or a favorite character theme for your kids. Deciding on a theme will help guide your choice of materials and the overall look of your calendar.
Choose Your Materials
The beauty of a DIY Advent calendar is that you can use a variety of materials to create it. Cardboard, paper, felt, wood, or even reusable fabric bags can be used for the pockets or containers that will hold your treats or small gifts. As for the numbers, you can get creative with different types of stickers, stamps, or cut-out numbers that match your chosen theme. Don’t forget to select some festive ribbons, twine, or string to hang or tie your calendar together!
Gather Your Treats and Gifts
Part of the excitement of an Advent calendar is the treats or small gifts that are revealed each day. When choosing what to include, consider a mix of sweet treats, like chocolates or candies, and small gifts such as stickers, miniature toys, puzzles, or even coupons for fun experiences or privileges. If you’re making a calendar for adults, you can include items like small bottles of liquor, gourmet spices or teas, or gift cards.
Create the Calendar Structure
Now it’s time to bring your calendar to life! Start by deciding how you want to structure it. Will it be a simple string of numbered pockets or bags, or do you want to create a more complex design, such as a calendar shaped like a Christmas tree or a large decorative box with numbered compartments? Once you’ve decided on the structure, assemble and decorate it using your chosen materials.
Add the Final Touches
After assembling the structure, it’s time to fill in the treats or gifts and seal the pockets or compartments. If you’ve chosen a design with open compartments, you can cover them with numbered doors that open to reveal the surprises. Don’t forget to add any final decorative touches, like ribbons, bows, or a personalized message. Your DIY Advent calendar is now ready to build anticipation and spread holiday cheer!
Display and Enjoy
Find a prominent spot in your home to display your calendar, whether it’s hanging on a wall, placed on a mantel, or set up on a side table. Starting December 1st, let the excitement begin as you or your loved ones open a door or uncover a treat each day, counting down the days until Christmas. Enjoy the magic of the holiday season with your very own handcrafted Advent calendar!
Involve the Whole Family
Making a DIY Advent calendar can be a wonderful family activity. Get everyone involved in the process, from deciding on the theme and gathering materials to filling the treats and decorating the final product. Not only will it create lasting memories, but it will also teach your children about the joy of giving and the importance of family traditions.
DIY Advent calendars are a fun and creative way to celebrate the holiday season. By making your own, you can customize it to fit your style and traditions, creating a cherished keepsake for years to come. We hope this guide has inspired you to roll up your sleeves and embark on a festive crafting adventure. Happy holidays!
