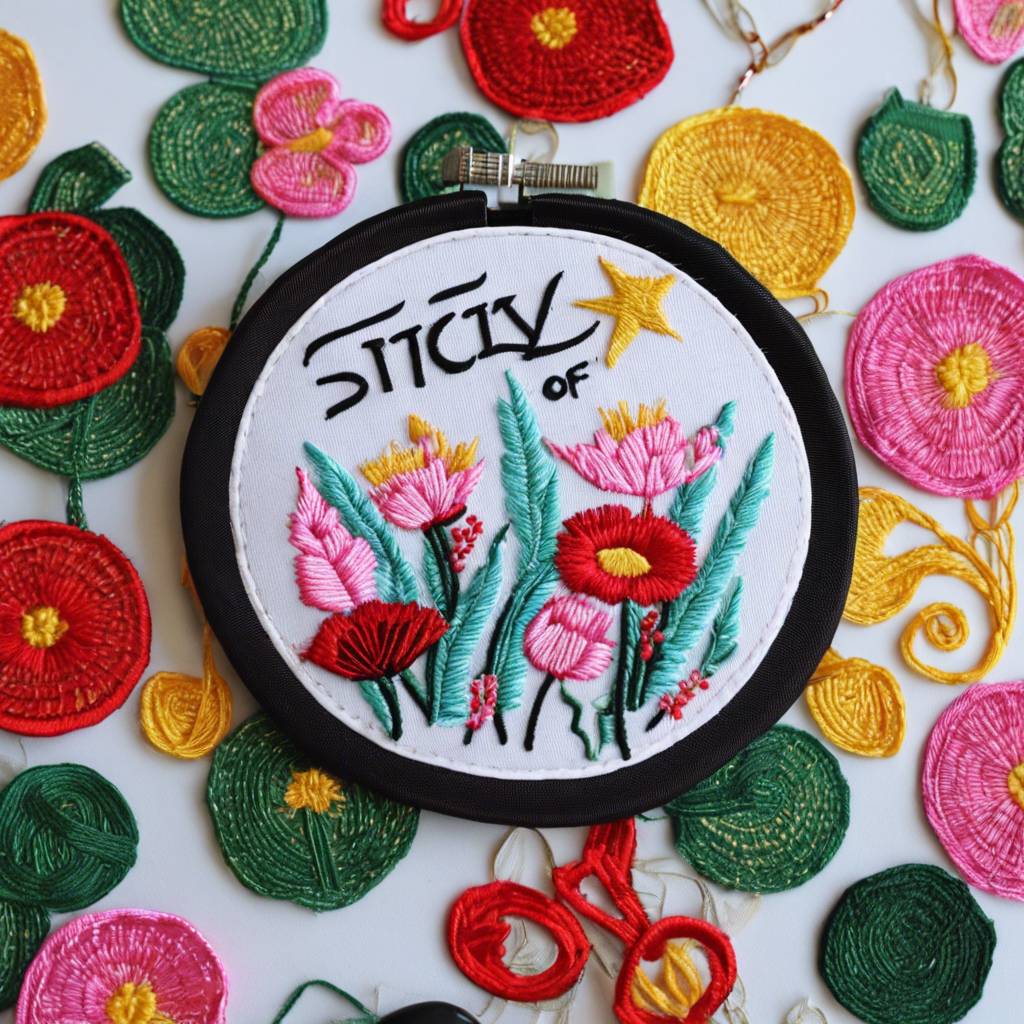
Creating custom embroidered patches is a fun and creative way to personalize your clothing, accessories, and other fabric items. Embroidered patches can add a unique touch to your favorite denim jacket, backpack, or even a plain t-shirt. Whether you’re an experienced crafter or a beginner looking for a new hobby, making DIY embroidered patches is an enjoyable and rewarding project. Here’s a step-by-step guide to help you get started:
The first step in creating embroidered patches is choosing the design you want to showcase. Consider the theme, colors, and overall style you wish to achieve. You can sketch your design by hand or use computer software to create a digital illustration. If you’re a beginner, it’s best to start with a simple design that doesn’t have too much detail, as this will make the embroidery process easier.
Once you’ve finalized your design, it’s time to gather your materials. You’ll need embroidery floss in various colors, embroidery needles, fabric scissors, fabric or pre-made adhesive backing, and any additional embellishments you want to add, such as beads or sequins. You can purchase these supplies at your local craft store or online.
Prepare your fabric by cutting it to the desired size, leaving a few extra inches on each side to allow for hooping and framing. If you’re using a pre-made adhesive backing, cut the fabric to match the size of the backing. Choose a fabric that is suitable for embroidery, such as cotton or linen, and make sure it is thick enough to withstand the stitching without puckering or distorting.
Transfer your design onto the fabric using a lightbox or a sunny window. Trace the design with a water-soluble fabric marker or tailor’s chalk, ensuring the lines are thin and precise. If your design is symmetrical or consists of repetitive patterns, you can fold the fabric in half and cut out small slits along the design lines, then unfold it to reveal perfectly symmetrical guidelines.
Secure your fabric in an embroidery hoop, centering the design within the hoop. The hoop will help stabilize the fabric and make it easier to create even stitches. Start embroidering by following your design outline and using various stitches to add texture and dimension. Common stitches used in embroidery include the backstitch, satin stitch, split stitch, and French knot. Take your time and enjoy the process of bringing your design to life.
Continue embroidering until you have completed the entire design. If your design includes different colors, be sure to separate the areas by following the color blocks in your sketch. Tie off the threads securely at the back of the fabric and trim any excess thread. If you’re using adhesive backing, now is the time to attach it to the back of your embroidered design, ensuring it covers the entire area.
Your DIY embroidered patch is now ready to be displayed! You can sew it onto your desired item or use an iron to activate the adhesive backing and press it onto the fabric. Embroidered patches can be added to clothing, bags, hats, or any other fabric surface you wish to decorate. Feel free to experiment with different designs and techniques to customize your wardrobe and create unique, personalized style statements.
Remember, practice makes perfect, so don’t be discouraged if your first attempts don’t turn out exactly as you imagined. Embroidery is a skill that develops over time, and with each project, you’ll gain more control over your stitches and a better understanding of the creative process. Enjoy the journey and the satisfaction of creating beautiful embroidered patches entirely by hand.
I hope you found this article helpful and inspiring! Embroidered patches offer a wonderful opportunity to express your individuality and creativity, and they make fantastic personalized gifts as well. Happy stitching, and I look forward to seeing your fabulous embroidered creations!
